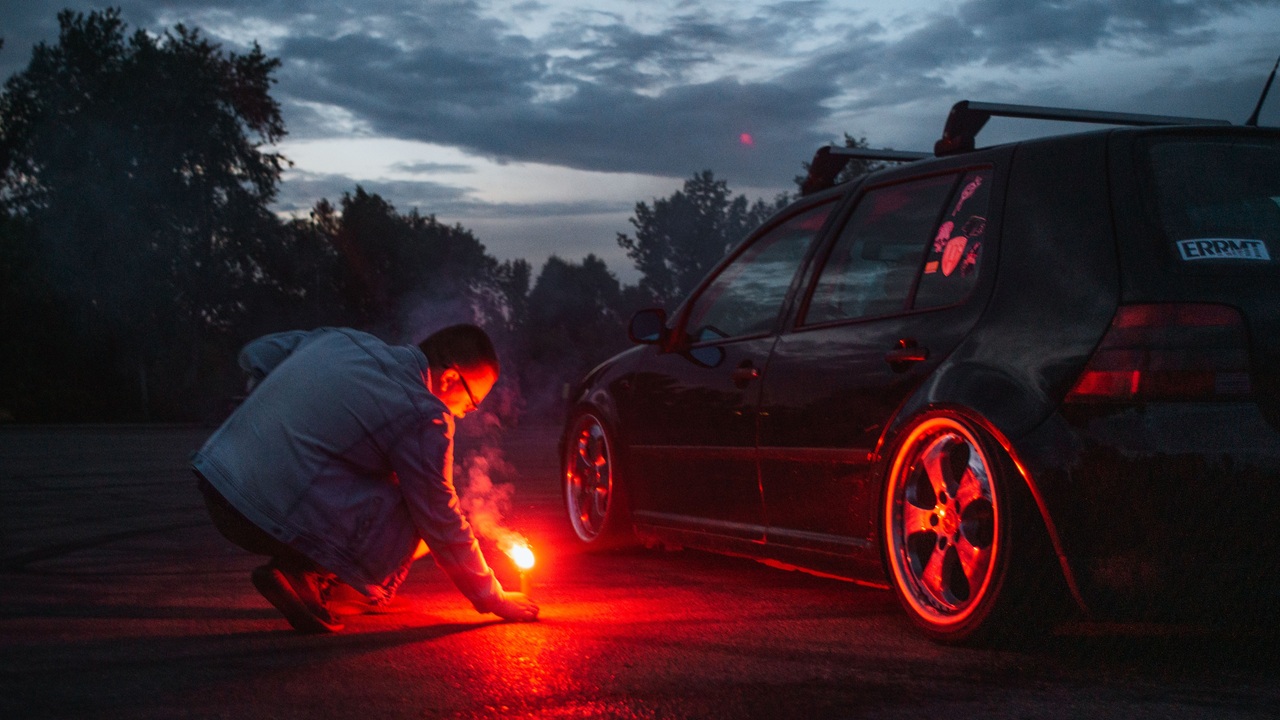
A breakdown at night is stressful because other drivers may not see you until they’re close. If you’re searching for how to use road flares at night, you likely need clear, practical steps you can follow without making the situation more dangerous. This guide covers what to do first, where to place flares, when not to use them, and safer alternatives like reflective triangles and LED beacons. If you’re stuck in Cleveland and need help getting to a safer spot or getting moving again, Speedy Fleet Towing Service is a call away at 1 (216) 810-8086.
Start here: what to do before you place flares
Before you think about flares, prioritize getting out of the travel lane and reducing your exposure to traffic.
If the car can still move, try to pull into the safest location you can reach without creating a new hazard. A wide shoulder is better than a narrow one. A parking lot is better than a shoulder. If you can exit the highway safely, that often reduces risk dramatically. If you cannot move the vehicle, keep your focus on visibility and personal safety.
Turn on your hazard lights right away. If you have a flashlight, use it, but avoid waving a light directly at oncoming drivers in a way that could distract or glare. If it’s safe to do so, turn on interior lights or a dome light to make the vehicle more noticeable, especially if your hazards are dim or you are stopped in a dark area.
If you’re on a high-speed road, think about where you’ll stand before you step out. Passing traffic is the biggest danger. If you do need to exit the vehicle, do it deliberately and with a plan.
How to use road flares at night safely
Road flares can be very effective because they create a bright, low-to-the-ground light source that drivers notice quickly. But they also involve open flame and heat, so they are not right for every situation.
When flares are a good idea
Flares are most useful when you’re stopped in an area where your hazards and headlights are not enough to give approaching drivers time to react. They can be helpful on dark highways, rural roads with limited lighting, and places with sharp curves or hills where visibility is short.
They can also help if your vehicle’s electrical system is compromised and your hazards are weak or not working well. Since traditional flares are self-contained, they still provide warning even if the car has no power.
When you should not use flares
If there’s any reason to suspect a fire risk, skip flares and use reflective devices or LED beacons instead. That includes the smell of gasoline, visible fuel leaks, leaking fluids near hot components, or smoke from the engine bay.
Avoid flares around dry grass, brush, or debris that could ignite, especially during hot, dry, or windy conditions. Strong winds can blow flare sparks or shift the flare itself, making it less predictable.
Also consider traffic conditions. If cars are passing extremely close to the shoulder, stepping out to place flares could be more dangerous than the benefit you gain. In that case, your safest choice may be staying put and calling for assistance rather than trying to set up a scene.
Step-by-step: where to place flares and how many to use
The goal of flare placement is to give drivers earlier warning than your hazard lights alone, and to guide them away from your vehicle. You are trying to create a clear, simple message: “Something is stopped ahead, move over.”
A practical approach is to place one flare behind your vehicle to mark your position and then place additional flares farther back to give drivers time to slow and change lanes. Exact spacing depends on road speed, traffic, and visibility. On a slower city street, the distance can be shorter. On a highway, you generally want the warning farther back because vehicles close distance fast.
If you’re on a curve, hill, or exit ramp, placement matters even more. You want the first warning flare positioned so an approaching driver sees it before they come around the curve or crest the hill. That usually means placing the farthest flare back at the beginning of the blind area, not just directly behind your vehicle.
If you only have one flare, use it to maximize early warning rather than putting it right at your bumper. But do not put it so far away that drivers miss your actual vehicle location. There’s a balance between early warning and clearly marking the hazard.
Lighting and handling tips to avoid burns and mistakes
Road flares get hot and can drip or leave residue. Light them according to the instructions on the package and keep them away from your body and your clothing. Set them down gently rather than tossing them. Place them on pavement where they will be stable and visible, and avoid placing them where a passing tire will hit them and throw debris.
Do not hold a burning flare while walking in tight quarters near your vehicle or other objects. If you need to move with it, keep it low and away from your legs and shoes. If you have passengers, especially kids, keep them away from the flare area entirely.
How long flares last and when to replace them
Flare burn times vary by product. If you’re waiting a while, keep an eye on the flare so you know when it goes out. If the flare extinguishes and you still need visibility, use another flare or switch to reflective triangles or an LED beacon.
If you need to reposition because traffic patterns change or you realize you placed them too close, do it only if it’s safe to do so. If it’s not safe, leave them and focus on staying out of danger.
Reflective triangles and LED beacons: safer options in many cases
Reflective triangles and LED beacons do not involve flame, so they are often a better choice when there’s any concern about leaks, dry brush, or wind. They can also be easier to handle and reposition.
Reflective triangles depend on headlights to “light up,” so they work best when traffic has normal headlight use and visibility is decent. LED beacons provide their own light, which can be helpful on dark roads or if you’re stopped in an area where drivers might not have headlights pointed toward your shoulder early enough.
Placement is similar to flares: one closer to the vehicle to mark your position and one or two farther back to provide early warning. Again, you will adjust distances based on speed and line of sight. If you are stopped near a curve or hill, put the farthest warning device where it can be seen before the blind spot.
A small nighttime breakdown kit does not need to be complicated. A flashlight with fresh batteries, reflective triangles or an LED beacon, and a reflective vest can make a big difference. Even if you never use them, having them reduces stress when something goes wrong.
Nighttime visibility rules of thumb
At night, you want to keep the scene simple and predictable for other drivers. Too many moving lights, people standing near traffic, or confusing placement can increase risk.
Try not to stand between traffic and your vehicle while you’re setting up. If you need to exit, the safest path is usually on the side away from traffic when that’s possible. If you must exit on the traffic side, do it carefully, check mirrors, and only open the door when you can do so without exposing yourself to a passing vehicle.
Once your warning devices are out, avoid pacing around the road or shoulder. A stationary, visible setup is better than movement that drivers may not anticipate.
Special scenarios that change flare placement
On highways and other fast roads, early warning is the priority. Drivers need more time to react, and there is less margin for error. If there’s a wide shoulder and you can safely place devices farther back, that’s often helpful. If the shoulder is narrow or traffic is close, do not take risks trying to achieve “perfect” spacing.
On city streets, you may have streetlights, parked cars, and intersections to deal with. You might need to place your warning device far enough back so it’s not hidden by a parked car or a rise in the road. Also consider turning traffic. If you’re near an intersection, approaching drivers may be focused on signals and cross traffic, so make sure your vehicle and warning devices are easy to recognize.
After a crash, prioritize people over flare placement. If anyone is injured, call emergency services first. Do not put yourself in a dangerous position to place flares in traffic. Visibility matters, but it is secondary to avoiding further harm.
Conclusion
Knowing how to use road flares at night comes down to two priorities: stay visible and stay safe. Use flares when they improve warning without adding fire risk, place them where drivers will see them early, and do not step into dangerous traffic just to make the setup perfect. When flares aren’t appropriate, reflective triangles and LED beacons can provide safer visibility.
If you’re dealing with a nighttime breakdown in Cleveland and need help getting the situation under control, call Speedy Fleet Towing Service at 1 (216) 810-8086. We can help you decide whether you need roadside assistance or a tow and get you through the situation safely.